Gifting has never been easier
Perfect if you're short on time or are unable to deliver your gift yourself. Enter your message and select when to send it.
Popular searches
Featured products


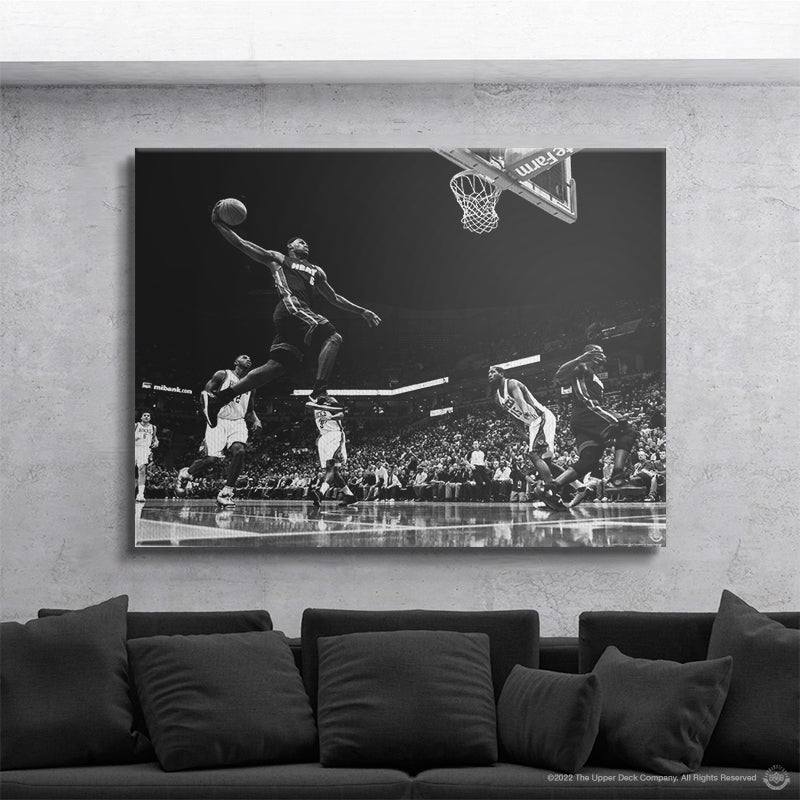
Canvas prints add sharp visual impact to a room, whether they’re hanging in a hallway, anchoring a living space, or giving life to a home office. But over time, even the best-quality prints can show wear. One of the most common problems you might come across is loose corner staples. It might seem small, but those tiny fasteners are doing a big job, keeping the fabric pulled tight so the image stays smooth and wrinkle-free.
When a corner goes loose, it changes how the whole piece looks. The canvas may sag or buckle in one area, and if left alone, it can weaken the frame or stretch unevenly. Taking care of loose staples right away can help extend the life of your wall art and keep the look crisp. You don’t have to be a pro to notice when something’s off, and with a bit of patience and the right steps, it’s possible to get things back to their original shape without risking more damage.
Spotting a loose canvas staple is easier than you might think. You don’t need special tools or a close-up inspection either. Often, the signs are visual. If you see the canvas starting to sag or there’s a small gap at the corners where the fabric used to be snug, that’s usually the first signal. Sometimes you’ll hear a light pop when moving your art, which is a giveaway that one of the staples may have let go.
When one corner shifts, the rest of the print starts to lose tension, too. It can lead to those annoying ripples running across the surface or even visible dips that catch light in strange ways. You might also notice the frame itself flexing a bit more than usual. That’s because without firm pressure in each corner, the canvas doesn’t keep the same structure.
Here are a few things that can cause this:
- Humidity changes that expand or contract the canvas fabric
- Over-stretching during the original mounting process
- Prints bumping into things during a move
- Frequent temperature shifts in rooms like garages or sunrooms
These issues don’t always show up right away. It may take a few months or even years for loosened staples to become noticeable. That’s why it helps to check now and then and catch the small stuff before the rest of the piece starts to follow.
Before you get started, it’s smart to gather everything you’ll need. Trying to fix a corner without a good grip or the right support can make things worse. Keeping your setup simple but prepared sets you up for better results. You don’t need fancy gear. Just having the right tools within reach makes the whole process smoother.
Here’s what to have nearby:
- Staple gun (manual or electric) with the right size staples
- Flathead screwdriver or pliers (for removing loose staples)
- Canvas stretcher bar or wood block (to help during re-stapling)
- Clean surface or towel (to protect the canvas when face-down)
- Optional: small tack hammer or a bit of wood glue for added hold
One tip to remember: if your staple gun has pressure settings, go for a lower one at first. Too much force might put holes through the frame or split lightweight wood. You’re aiming for steady tension, not super tightness. Gentle pressure with firm hands makes a big difference.
We once worked with a piece that had made the rounds through a few different offices. When it finally returned to a home wall, the bottom corners had slipped. With a couple of firm presses from the staple gun and some smart bracing, the piece looked almost freshly mounted again.
Working slowly also protects the look of the artwork. No rushed staples or nicks in the wood. It’s worth blocking out 15 minutes to get it right.
Fixing loose staples is straightforward when you know the steps. By following this process, you can bring the canvas back to its original tension while keeping it safe from new damage.
Start by gently lifting the old staples with a flathead screwdriver or pliers. Get the tool under the edge and pry them out slowly. Try not to yank or pull too fast, as that might tear the fabric or splinter the frame.
After the staples are out, support the area with a stretcher bar or small wood block while you pull the fabric. You’ll want to stretch each corner smoothly and evenly. This helps restore the tension that keeps the print tight and wrinkle-free.
Once the canvas is taut, start stapling. Put one staple in the center of each corner, then add more along the edge as needed. Keep your staples evenly spaced and pressed flush against the wood. The goal is solid hold without pressure points that could bend or break the wood.
After everything is secured, take a final look. See if the tension is even. Look for any sagging spots or areas that feel loose. If needed, pull slightly tighter and staple again. It’s worth double-checking now instead of having to redo it later.
This method helps your wall art stay balanced, smooth, and professional looking. A little time and effort now can keep the piece looking crisp for years to come.
You can avoid the hassle of repairing loose staples by staying ahead of the issue. A little maintenance now and then helps prevent larger problems from creeping in. These tips make it easier to keep your artwork looking fresh without always needing to fix things later.
Take a minute every few months to check your canvas prints. Lightly tap on each corner and look for signs of sagging or gaps. Frequent checks are especially useful for prints hanging in busy areas or places with lots of light and airflow.
Try to hang canvas prints in rooms with steady conditions. Places with big swings in humidity or temperature, like garages or sunrooms, can stress the fabric and cause staples to loosen. Keeping artwork in a clean, dry space helps maintain the stretch.
Use a soft, dry cloth to dust your prints. Stay away from moisture or harsh chemicals, which can soak into the frame and make it swell or weaken over time. Cleaning is also a good opportunity to inspect the frame and corners.
Simple routines like these help make your canvas prints last longer without a lot of extra maintenance.
Taking care of your canvas prints doesn't have to be stressful or time-consuming. With the right steps and a little attention, you can keep each piece looking clean, defined, and full of color. Fixing small issues like loose corner staples keeps your art balanced and long-lasting.
Beyond the practical side, maintaining your art also shows pride in your space. When canvas prints are well-kept, they feel more like part of the home rather than just decoration. It brings a sense of polish and connection to every room.
Canvas art is made to inspire. Whether it’s bold colors, strong messages, or iconic characters, these prints make a statement. By keeping them in top shape, you give them the care they deserve. A few simple actions go a long way in making sure your space is always looking its best.
Preserve the beauty and integrity of your canvas prints with a few simple maintenance steps. Once your artwork is looking its best, elevate your space further by exploring canvas wall decor from IKONICK. Our curated collection features inspiring designs and vibrant colors, perfect for any room in your home. Make a statement with art that not only enhances your space but also inspires your everyday life.
Read more
NBA wall art has a way of turning regular spaces into something that feels personal, stylish, and connected to the game. Whether it's a bold slam dunk moment, a team logo, or a favorite player caug...
NBA wall art has a way of turning regular spaces into something that feels personal, stylish, and connected to the game. Whether it's a bold slam dunk moment, a team logo, or a favorite player caug...